


The next thing we're going to mess with is the main entrance. Right now it's just a bare passageway that simply terminates at the edge of midfield. This is boring to me. Let's make it more interesting, shall we?
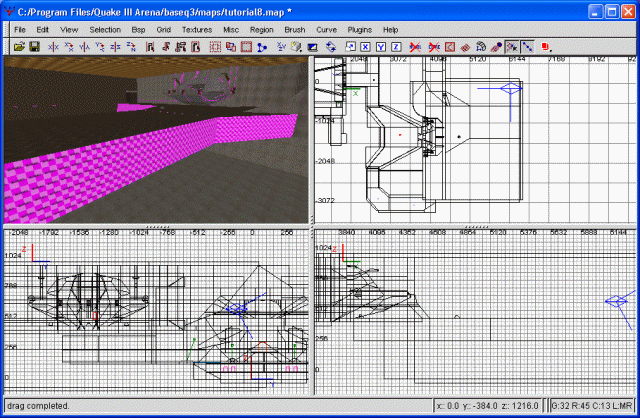
First thing we're doing is make a chunk of wall that extends out from the side. I've made it angled down, and then outward a bit. Rather than go in depth explaining precisely what I did, I'll just grant you a screenshot. The brushes are still caulked and highlighted to make it easier to see.
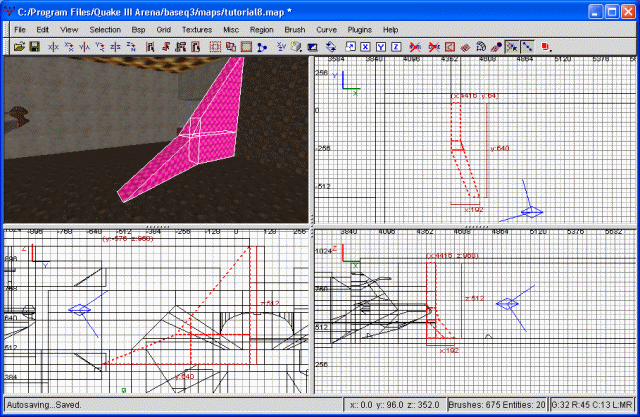
The extended wall
Following that, I clipped it to make a light similar to the passageway, then textured the inside exactly as I did the passageway. The outside I textured as concrete. Directly behind where this new wall meets up with the old one needs to be retextured as caulk. This is actually easy, since I mated it up evenly with some preexisting brushes.
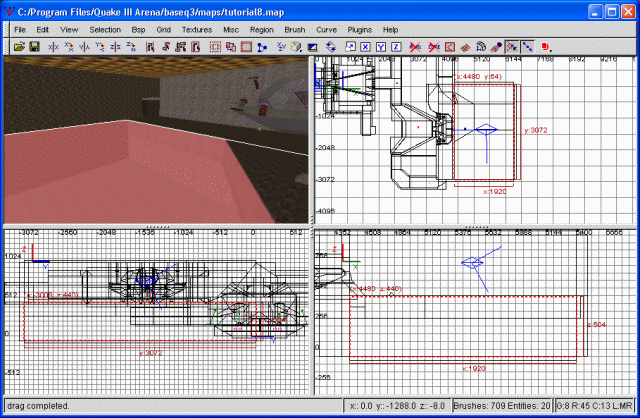
Next we're altering the wall that the passage parallels... in other words, the same wall that our balcony juts out from. Earlier I turned the myriad of brushes there into a single brush, make it alot easier to work with. I've decided it's going to recess back toward our base some, giving the front of the base more of an organic feel (hopefully). At very least, it'll reduce the squareness our base front currently boasts.
In order to properly do this, we need to clip down some brushes. Namely, the two brushes that abut against it from behind. These originate from our courtyard, defining the upper and lower inclined walls. These brushes extend out into the void a great distance, interfering with our ability to expand our midfield. Clipping these brushes off doesn't affect the map at all, but does give us the room we need. In the process, I happened to notice another brush that wasn't caulked correctly. :/ Well, it happens. Regardless, I'm first thickening the wall brush in preparation of my clipping. This just gives a good judge as to how deep I can make the clips without threatening to invade another area with errant brushes.
Once more, a screenshot is in order. I've done something different in here, and I'll explain after the screenshot.
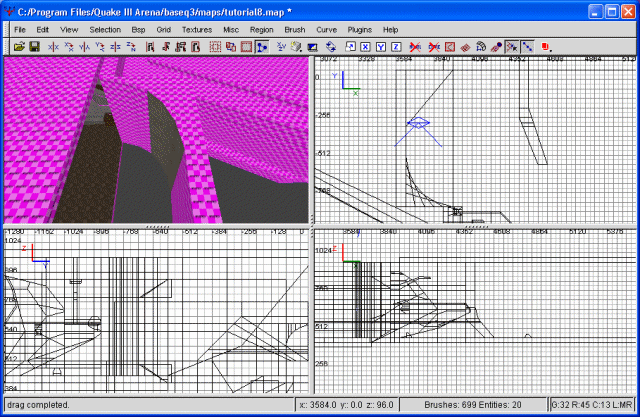
A recessed wall
Notice something different? Especially in the top view, you can see something of a pattern developing here. What I did was clip, at varying angles, eventually leaving us with something of a curve. Look familiar? It should; this is basically what the curve menu does for you automatically. Now every brush that isn't contacting the inside world is getting deleted.
I could have done the same to the other side of the brush, instead of that straight cut, but I think I'll leave it. For one, a single cut like that creates a smaller number of surfaces, which translates into less triangles and a higher frame rate. Excellent. With that out of the way, it's time to fill in ceiling and floor. The odd cuts make that a chore of sorts, but shouldn't be too big a deal. Lastly, I've textured all the walls with concrete.
The next step is fairly simple. The top of the passageway is currently just a block. I'm going to clip it inward, presenting more of an angle. This will, of course, require you to fill in the now open areas and seal off the void. I'm also extending the floorway of the passageway somewhat so it sort of peters off just outside the entranceway. Finally, a screenshot of what we have so far.
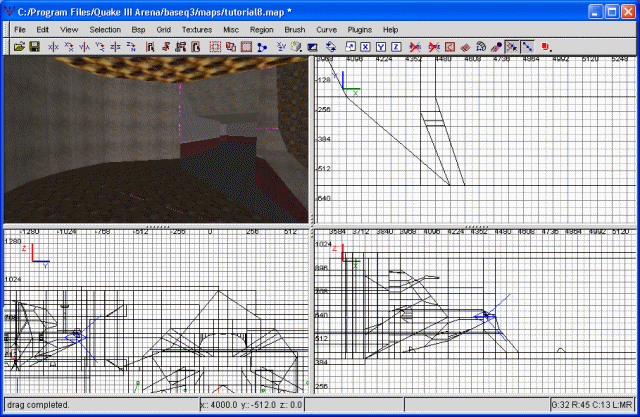
A step closer
Next remove any unseen textures (ie, below our little jutting wall). Following that, we're going to continue building the actual midfield. We'll begin this portion by deleting part of the floor. I'm selecting the 'northern' most peice. Why are we doing that? We're going to include a large wet area in our midfield.
So, anyway, after deleting that we'll move to the next brush south. I'm clipping this at an angle so it meets up with what will eventually be one of our bridges. Sound awfully confusing? A screenshot should help with that.
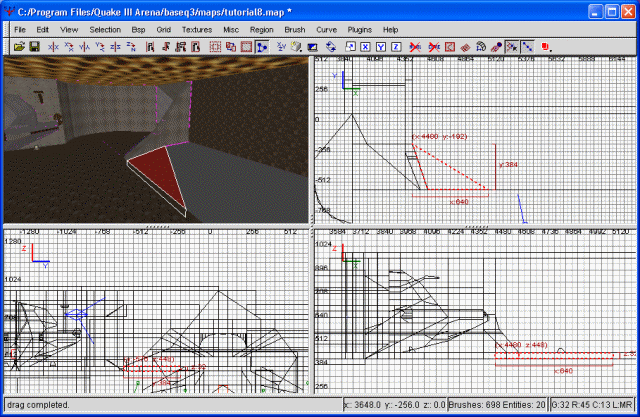
Beginning on the midfield proper
Go ahead and increase the thickness on the rest of our floor peices. I'm not satisfied with them the way they are. What we're heading toward is a bridge across midfield. The area we clipped away will drop off into water eventually. To continue that, next I'm going to clip the ground to define the other edge of this bridge. We want the bridge wide enough that people can dodge sniper bullets and each other, but small enough that it filters traffic somewhat. Since we're going to be putting up multiple bridges we shouldn't have to worry about midfield becoming a large deathmatch (something you should always try to avoid when making your map).
After clipping the other side of the bridge, I went ahead and brought all the walls down to the approximate depth I'm going to have my water at. I also drew out the floor and plugged all the rest of the holes, sealing off midfield from the void. A screenshot of the results.
The first bridge is shaping up
Next let's add the water. This will give a good baseline as to how we should build the rest of this and the other bridge. Before doing that, I'm going ahead and texturing all exposed caulk. Next, I'm drawing a large brush in the area that I want the water. This extends from the bottom of our water area to the edge of all four sides. Finally, we're terminating it a bit shy of the floor. Why? Because the water moves (kind of like water) and would look very unrealistic if we had it come even with the floor. If you're not understanding what I mean, try it and compile your map. I'm putting 8 units (one grid at size 4) between the top of the water and the floor.
Finally, we need to texture the entire brush with a water texture. These are located (sensibly enough) under the liquids heading. Please note, there are alot of liquid textures without shaders (denoted by the white boundary around the picture). If it has no shader, it does NOT behave as water. Be aware of this.
Now texture the whole brush as one of these water textures. I've chosen liquids/clear_calm1. Why the whole brush? Because that's how water (and fog) work. Now, you may notice that our water brush overlaps into our bridge brush. Should you clip it? Well, you could, but don't bother. It's best to maintain rectangular brushes when making water. Additionally, if the water brush only bordered on the bottom of the bridge brush, the water-effects would be very unrealistic.
The midfield water
Now that we have our water, let's move on. We're going to have a second bridge, this one toward the opposite side of the water. We're also going to elevate it some to give some variety to mid. I'm starting with a large, caulked brush. This will extend from our "land" area to the edge of the map, spanning our water. I'm making its depth the same as our other bridge, though both of these are subject to change, of course. Finally, I'm making its height a bit greater than the level of the balcony. This will be the bottom of the bridge.
Once I've drawn out the rough approximation, I'm going to do some clipping. First I'm going to clip a ramp, to allow easy access to the actual bridge portion. Following that, I'm going to clip it up some more to keep it from looking quite so blocky. Finally, I'm going to add supports and some other things to lend realism. I'm not going to go too far into detail on any of this. Instead, feast your eyes on the end result.

The second bridge
From the screenshot, you may or may not have noticed I didn't extend this bridge all the way to the end of our map after all. I believe our midfield is too big, actually, and plan to trim it down to the length our bridge is actually extending to. And with that, our side bridge is complete.